If I would learn to concentrate. So much to automate. So much to build yet. So many quests left. Then again, if we could just figure out this piping thing with the redstone energy cells, thing would go so much faster. But we're getting way ahead of ourselves. After all, we've still yet to automate our cobble production here. So back to the story as it were.
Our progress yesterday was impeded by the lack of ingots to build our cobblestone generator. Now, if we had remembered that we could just smelt the blocks of ore in our furnace at the time we were doing this, we would not have had to started on gathering mats to build our smeltery. But as this miracle did not happen, on to the building of our smeltery.
The Smeltery as its name suggests is a part of Tinkers Construct (TC) where we dump ore in and smelt them into melted metals with which we can cast tool and weapon pieces, make ore ingots and blocks. It also works on stone and sand but doesn't do well with foods. And so it is a cooking pot - fairly large - for molten metals that needs lava to cook.
The instructions for building a Smeltery can be found in one of the books give to us when we built our tool station for the TC quest eariler on. You can also make one - the instructions for which is found in NEI. Feel free to look it up if you lost the other one. Basic materials for making the smeltery consist of bricks, bricks and more bricks. But these are special bricks made from grout. Grout? You can make bricks out of grout? o.o
Apparently, you can with TC. All it takes is a bit of sand, gravel and clay ball and we can craft one. Once we take this block of grout and we smelt it, we end up with a seared brick which when you combine four will turn into a block of seared bricks (plural for the block and different from the singular brick). You will need several bricks and bricks to build the smeltery. The Smeltery is fashioned like a big pit with a bottom 3 x 3 square and walls (built out on the 5th block and not on top of the 3 x 3) as high as you have bricks. The four corners can be omitted but placing the casting table and bin there was convenient for later automation. The only necessary pieces would be the controller, tank, drain, table, and bin. All other seared blocks placed just have to close off the smeltery to form the pit.
Two pieces of the smeltery that must be made and placed next to each other are the Smeltery Controller and Seared Tank. The tank is the interface you need to fill with lava - which you can do by clicking on it with a lava bucket - be ready to pick up the lava if you happen to click with the wrong button. A pool of water close by is always a handy thing to have (o.o) when you're playing with fire. You can run some piping into it later on when you're ready too. The controller is the safe way you place the ore pieces you want to melt in the pit. It also shows you what metals you have melted down in the pit itself. You would click on the metal you want to pour out and it will be placed on the bottom of the pit ready to pour out from the smeltery drain attachments.
Having two drains would help make the smeltery work best - one for the casting table and the other for the casting basin. The casting bin is where you pour out 9 ingots worth of metal to form a block of the metal. Or glass. If you melted down your sand in the pit and poured out your liquid sand it would cool and form a clear glass which unlike vanilla glass has nothing to obstruct the view and when broken will drop and not be gone forever like vanilla glass - good if you have a habit of misplacing glass.
The casting table is where you make your molds, tool and weapon pieces and your ingots. To make your ingots you need to make a molding cast of an ingot. You do this by pouring aluminum brass over your ingot.
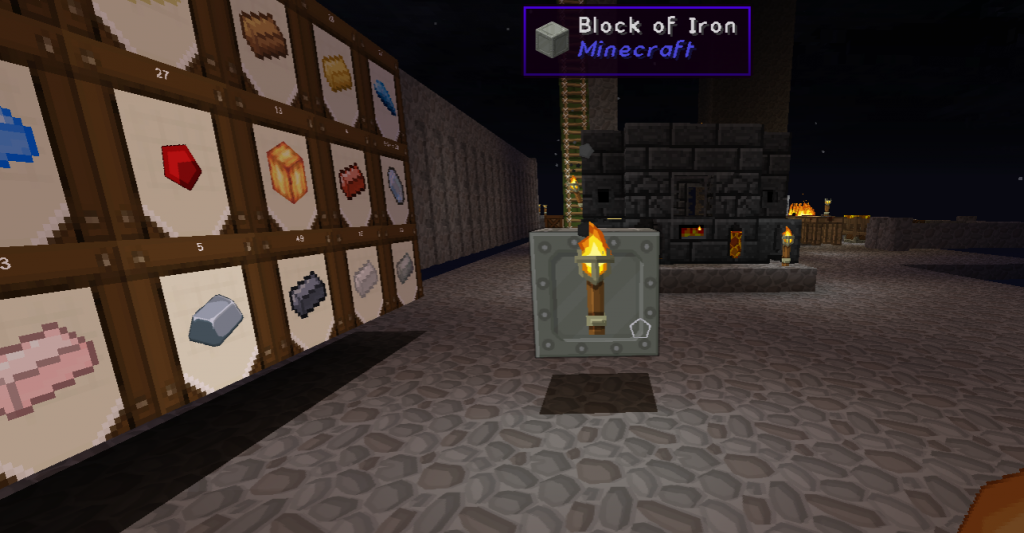 |
| The Smeltery and the reason we want to upgrade - see the block of iron? o.o |
At least we didn't actually build the thing. And goes off to cook up some ores in the furnace............tomorrow automation, maybe..........
ふらふら~ヒラヒラ~
という進行具合。真っ直ぐ進めばスラスラ~よ。 実際の日記連載よりスラスラと進められているんですよ。唯実際に起きた出来事を記録していくととてもそうと思えないだけです。本当に何時になったらレッド・ストーン謎々コーナを開催できるのやら。昨夜要約レッド・ストーン・電池セルを発動できた感動をお披露目したいのに。
と言う訳で、サクサク工房造りに勤しみましょう。 この時点でインゴット=竈で焼く方式が思え出せていたら造らなくても良かった工房。愚痴っても始まらないのでサクサクです。
先ずは工房に必要なモノ。Groutです。大抵はタイルの接着剤がTinkers Construct MODでレンガに変身です。造り方は砂少々、砂利追加、後は粘土玉を混ぜて出来あがり。これを更に焼くと焦げレンガSearedBrickに成り四個積めば焦げレンガ同盟Seared Bricksが出来上がります。工房はこのお焦げちゃんたちをグラスと組み合わせて箱式五右衛門風呂を造ること。実際に入ったらいい具合に焼け上がります。
風呂に必要な部品ですが調整室Controller、ボイラ竈Tank、排水溝ならん俳鉱溝Drain、と籠BasinとテーブルCasting Tableです。3x3の焦げレンガちゃん’sSeared Bricksを地面に置いて一段上がったブロックで5x5の壁を作っていきます。ControllerとTankは隣合わせで設置が必要ですが後の部品は大抵適当に置いて風呂の形になる様に焦げちゃんと焦げガラスで埋めていきます。排鉱溝Drainには受け止める台TableかBasinを置きましょう。Drainを二つ設けるとインゴットもブロックも簡単簡単。後一言メモとして四角い風呂ですが実際には角の要らない風呂だったりします。寧ろ角ブロックが無いほうが後々便利でした。ブロックが足りなくて造るのが面倒だった訳ではありません。ハイ。
で、このBasinですが鉱石ブロック作りとクリアー・グラスClearGlassを作るのが主な役割です。Clear Glassとは普通のガラスと違って何の亀裂も曇りも無い皇かなガラスのことです。このガラスは壊しても破壊されず再利用できる便利なガラスです。普通なガラスより損の無い代物です。
又、Casting Tableを利用すれば道具の部品を作って様々に組み合わせた道具が作れるようになります。 部品を作る為の型も作れます。あとインゴットも作れます。インゴットを作るには台の上にインゴットを乗せてAluminum Brassをインゴットの上に・・・・・・・
で、此処でやっと気付いたのです。インゴット要るじゃんって。で考えて見たんです。どうやってインゴット造るんだ!!!で、結局 竈でインゴット造れる事に思い至り、工房は未だ暫く放置しようという方針に成りました。
さぁー!取り掛かるぞ!自動式初挑戦。
No comments:
Post a Comment