Yes, today we finally work our way around to building our fool proof mob tower - not as in - it has super efficiency or any thing like that. NO, it's like - at least this will work even if you're a total fail at anything technical and complicated. Because it's fool proof. So even if you have difficulty counting to 8 sometimes it'll work for you. Understood?
And so we begin by laying out some cobble - on the ground. And if I just explain everything it'll get really confusing so there will be quite a few pictures. And all of this was done in a creative flat world because really, I can't be bothered to take photos when I'm actually doing this in AS - much too scare.....at least in creative, you can fly. And if you can fly, the heights don't seem as bad........Anyway.
 | |
| 1 outlining is an important step |
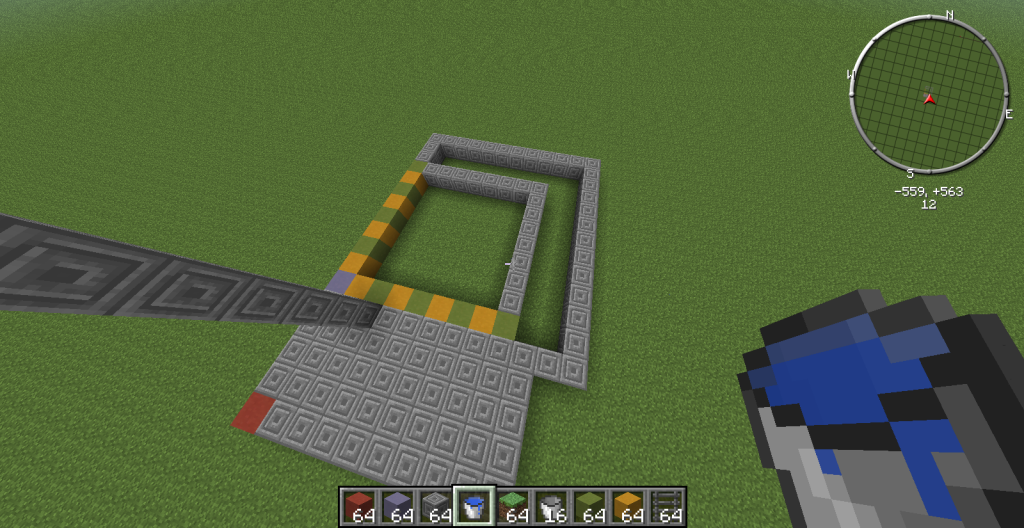
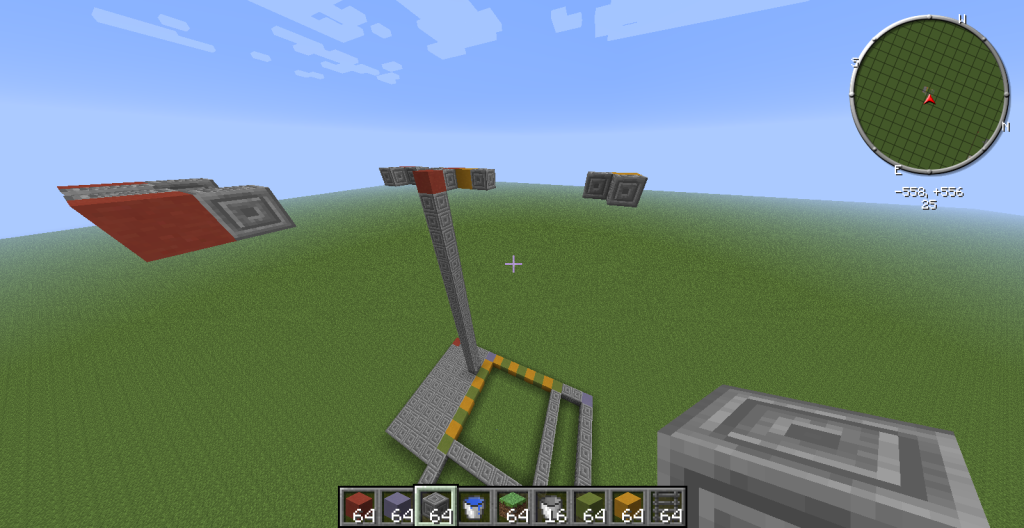
First, we layout our safe house outline. Red is our starting block. Green is where the ladder will be. I tend to make it at least 5 wide so I can make an infinite water source upstairs later on.
 |
| 2 look no supports |
 |
| 3 safe house, done! |
 |
| 4 If you look closely...... |
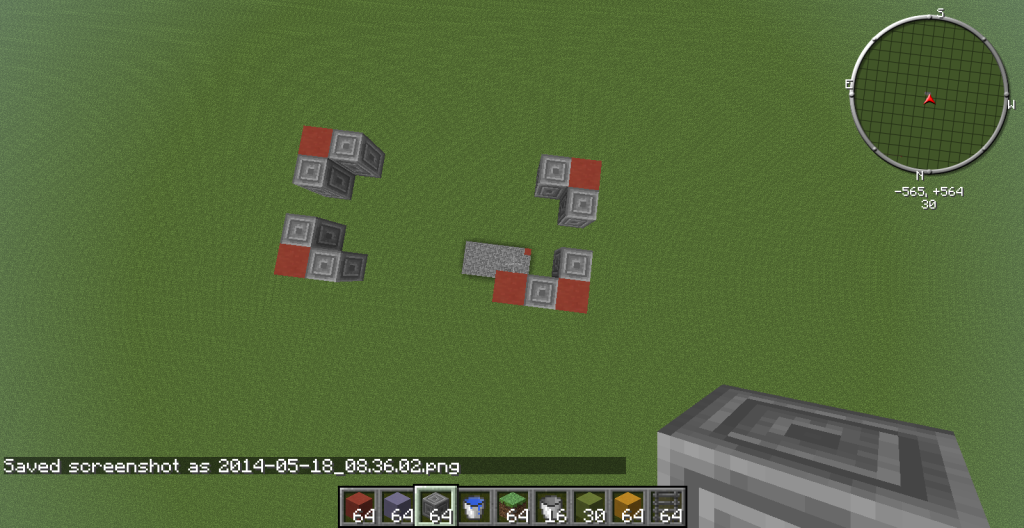
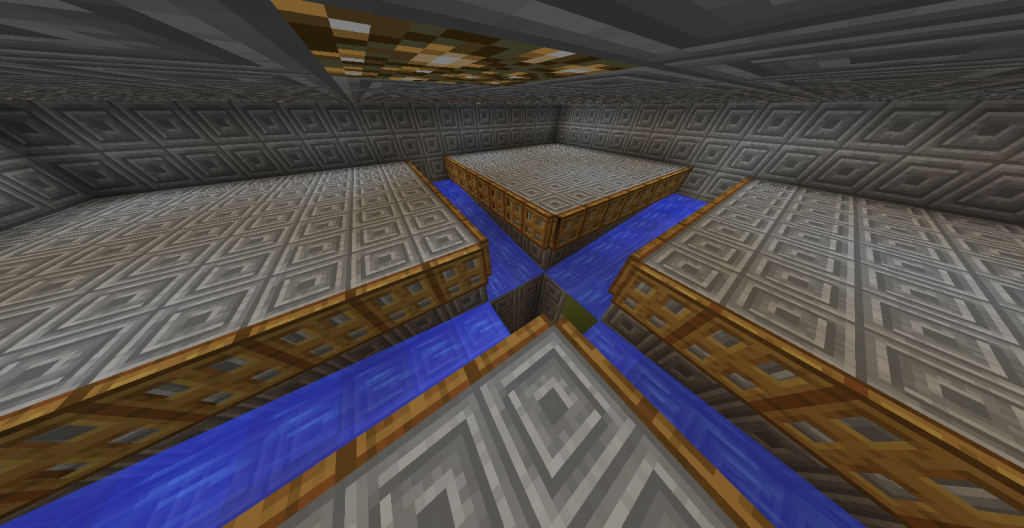
Again we start with a bit of ground work. This is a bit more important to be accurate on so we TRY to count a bit more carefully. Starting at the purple block. Count out 8 blocks. Make a square to connect. Make your water ways.
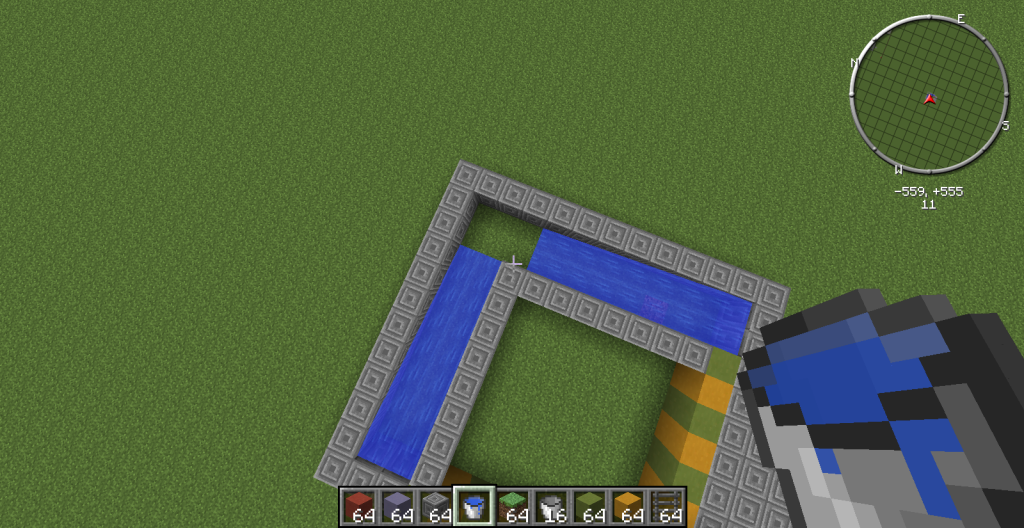 |
| 5 Did you notice the water way was longer? |
If your test had gone correctly, the water would form a 2 x 2 square which this clearly does not. Be sure to fix the error now.
 |
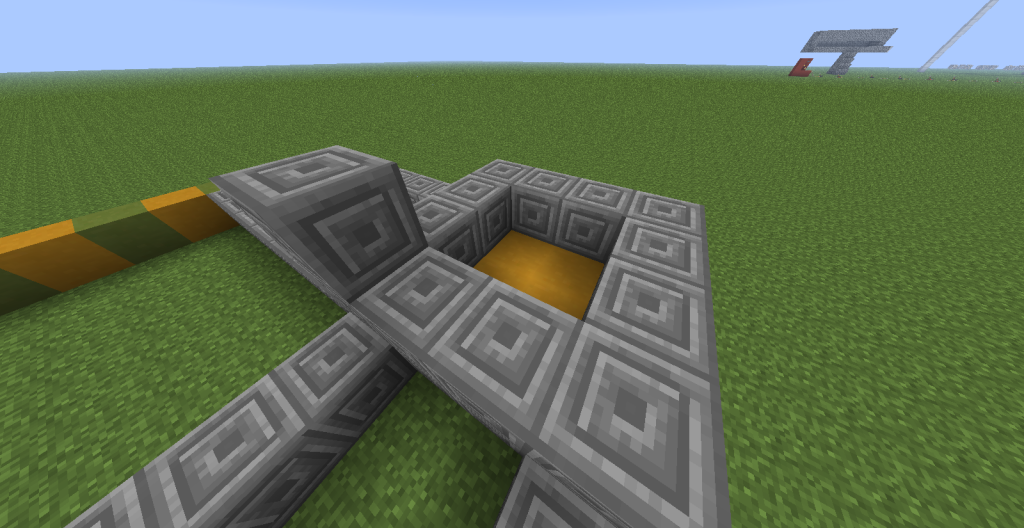
| 6 corners to line up |
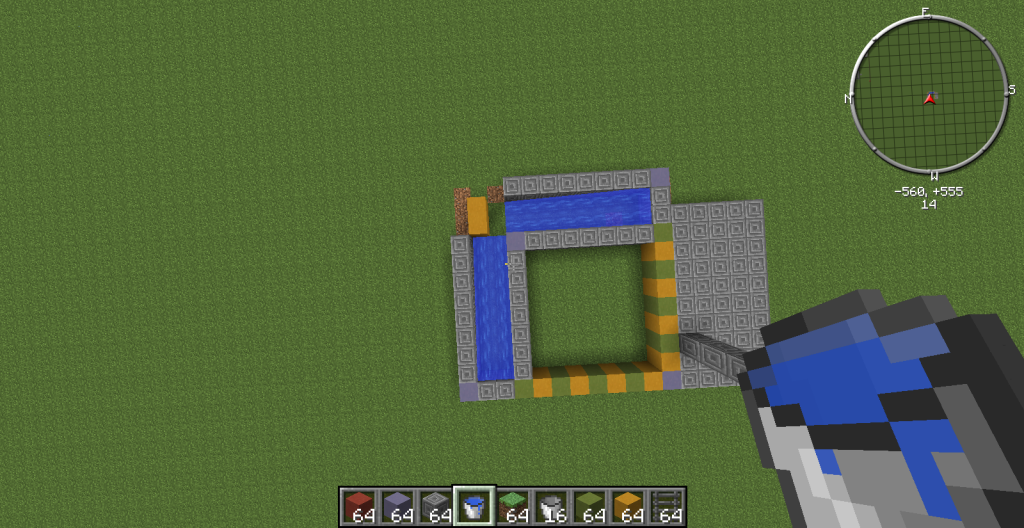 |
| 7 filling in the middle |
Guess which I chose?
 |
| 8 go around the square one by one until... |
Once surrounded, start building up around the 2x2 center. Going up about 30 blocks ensures that the majority of your mobs will be dead. If not, don't worry. You have things that can help you in AS.
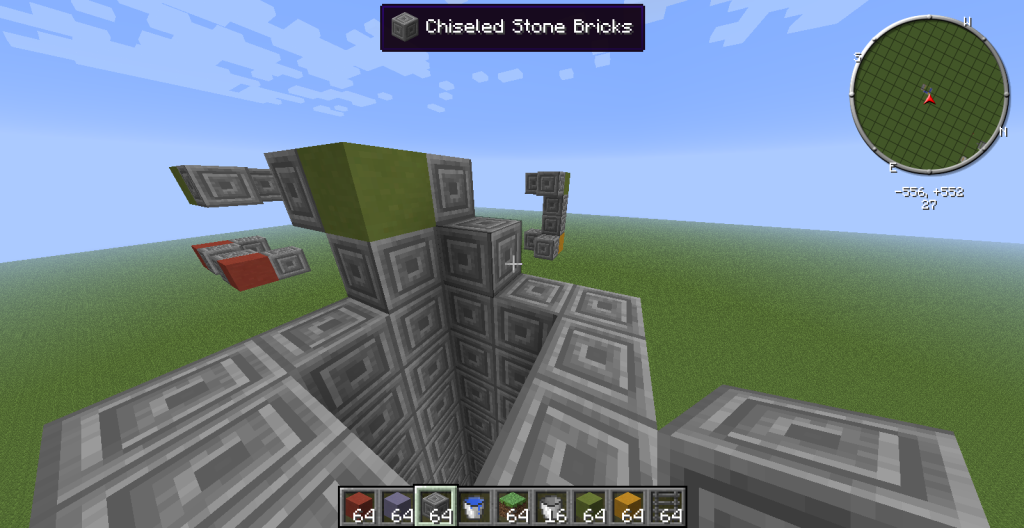 |
| 9 up to 30 |
 |
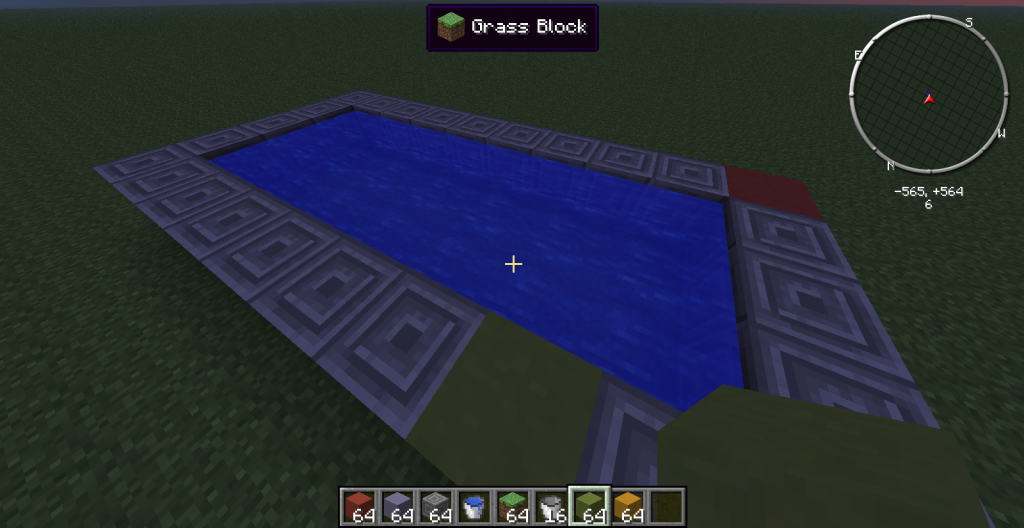
| 10 sealing up |
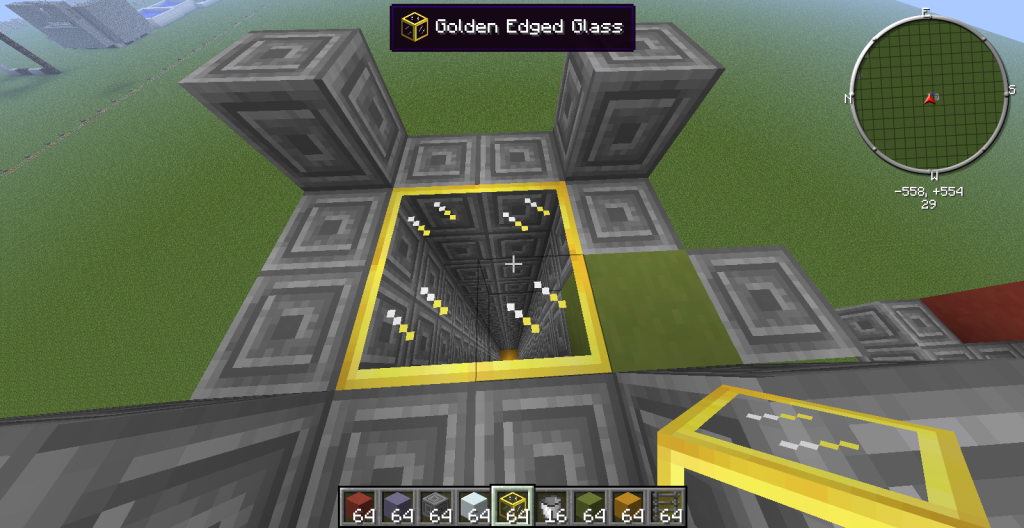
SEAL OFF THE DROP HOLE! Normally, I do this with a snow block but since glass is readily available I use it instead. Pick any block that is easier to break and easily distinguishable as the drop hole.
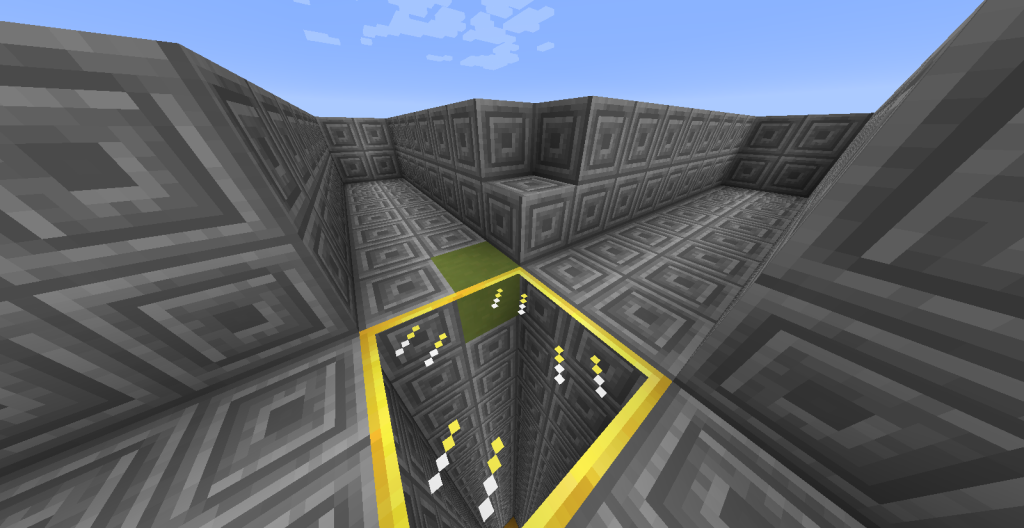 |
| 11 leave one block to step up |
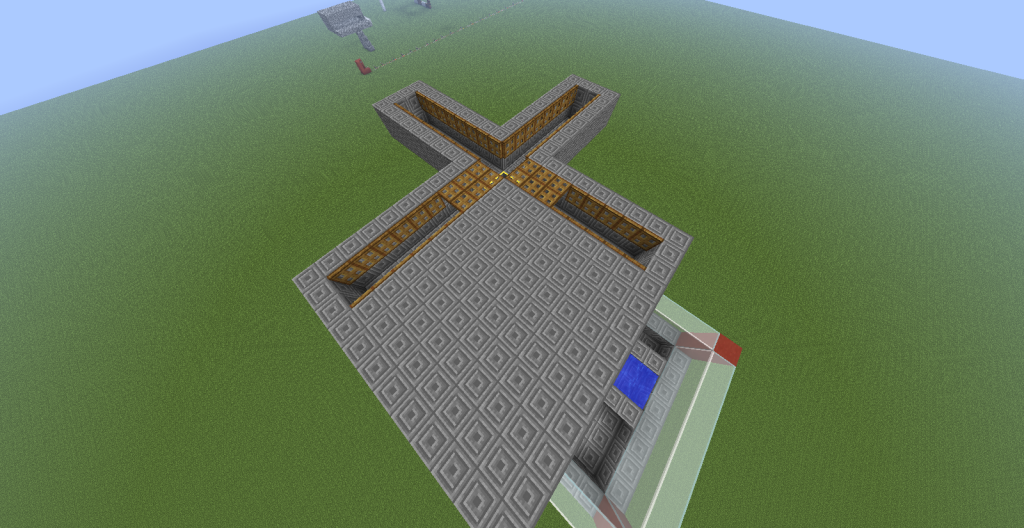 |
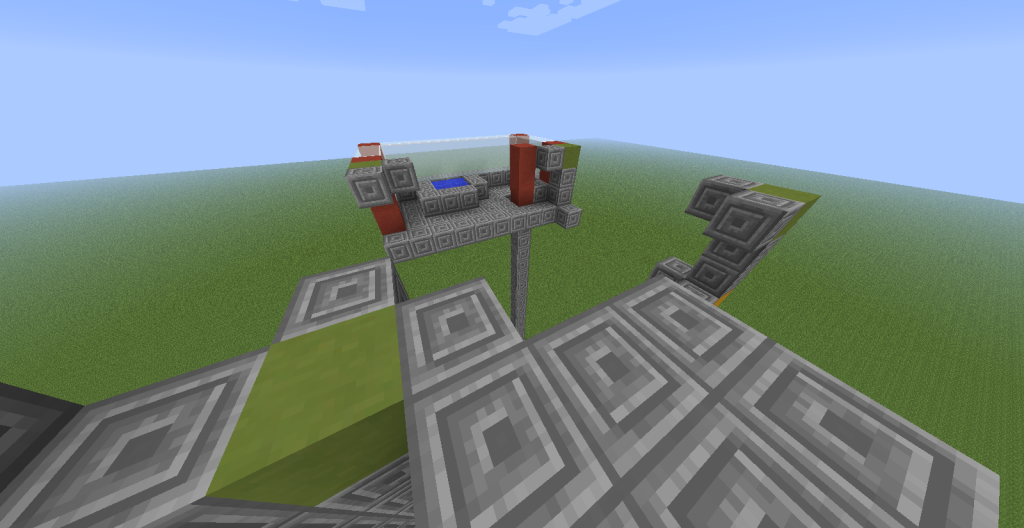
| 12 Repeat for four spawn pads |
 When you are making your pads, you might also want to light them up. Just in case. And then build up your walls at least 3 blocks - 3rd block for the roof. And build up your safe house too while you're going up. So when you build your next layer on the mob tower later, you'll have a platform to start on with your supplies. If you feel like moving.
 |
| 13 spawnable so a glowstone here |
Because in order for your mob spawner to work, it needs to be in low or no light levels. Normally most people do this by knocking out torches from the
 |
| 14 bright and no torches |
However, with a glowstone roof, you can remove the torches, make sure your trap is in order and then calmly walk out without fear of falling into your own trap because you couldn't see in the dark too well. Now climb up to the top of the roof, and replace the glowstones with torches and cobblestones. The roof will be light and the room will be dark. You have completed the fool proof trap and now all that remains will be to collect your drops. For the remaining mobs...........maybe we'll tackle that later.......
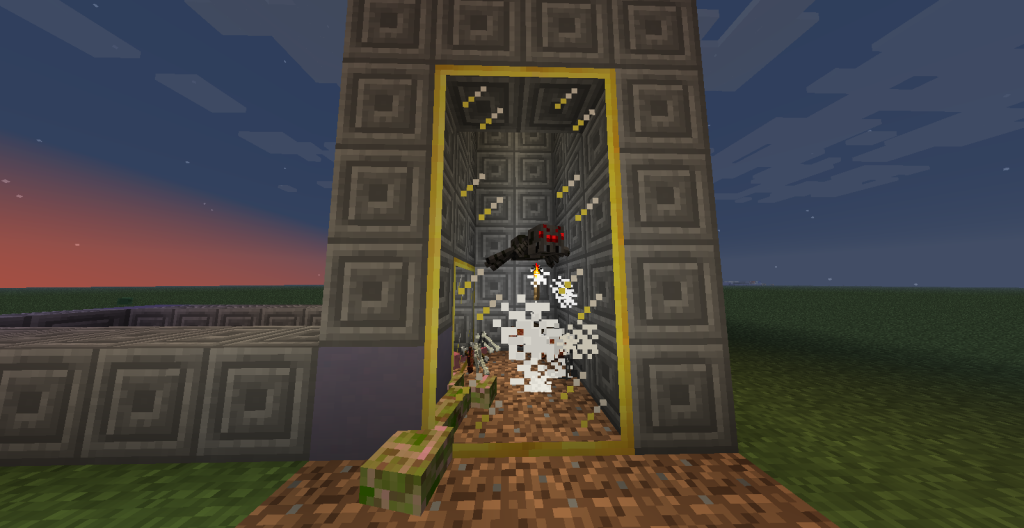 | ||
| 15 AND IT WORKS! |
褒めて下さい!
一言ポイントです。此方の作業は勿論creativeの別世界で作っています。分かりやすいように色着きブロックを作用しました。ASで遣る場合違う石、木、素材でも良いです。
先ずは上に登って造る前に地面で作っていきます。こうする事で精神的に苦痛な作業、お空高く数えながら後ろ向き前進を出来るだけ減らしていきます。モブ・タワーより先に休み部屋を造っておきます。
何故休み部屋を造るかというと先ず疲れるからです。指が。精神が。色々とボロボロです。なので、ゆっくり安心出来てちょっと他のことも出来る場所を確保すると随分楽が出来ます。余裕が出ます。後、後程モブ・タワー改造する時在ったら便利です。補給場としたり、夜を早く進めたり、永久水源を造ったりで。ハイ。
なので、(1)の構図のように枠作りからです。次いでにモブ・タワーの枠作りも出来ます。が、此処は敢えて休み部屋に集中して、(2)空に向かってブロックを積み重ねて登って逝きます。四つの赤い角と梯子の柱にも赤を使いました。大抵は24~26ブロック当たりを目指して登ります。着いたら角を造ります。少し掘り下がって下から(赤)角をおきます。地面まで掘り下がると(2)のようになります。最後の梯子柱には掘り下がりません。登りながら梯子登りで逝きます。上に着いたら休み部屋をつくります(3)。点と点を繋ぐだけの作業です。水源を設置して、ベッドを置いたり、チェストを備えたりもします。で、終われば下に下りて今度はタワーに取り掛かります。
モブ・タワーは先ず休憩部屋と同じく枠取りです。今回は紫ブロックから初めて8個ブロックを置いていきます。四角を目指して又8個ブロックを置けば(4)のようになります。ここで念の為に水を流して確認を取ります。旨くいっていれば水が四角になるはず・・・・ですが(5)のようなこともあるのでこれを空の上で遣るより安全な地面でやって修正します。これが旨く逝けば又柱登って目印作業(6)(7)です。部分的には四角のモブ沸き場と水路で間違った部分だけでも良かったりします。こうすると高さ一々数えながら上がったり、気にしなくても一目で分かるようになります。後、一度犯す間違いは二度起こすのではなく毎回犯すので出来るだけ正解に出来るようにする為です。
で、これが出来たらモブを落とす穴を囲い(8)四角の落ち穴を目印目指して登っていきます(9)。
次に(10)落とし穴に蓋をします。落ちるのを防ぎましょう。だって、穴です。 普通落ちます。予防はした方が身のためです。自分を知るのも身のためです。ハイ。
で、ここで初めてお空で数えながら後ろ全身です8ブロック程ですが。四方向ではなく二方向だけで済むのが下準備。有難い下準備。2回回数減りました。ので、休まずブロック二個積み上げて水路の壁を作り上げていきます(11)。後は水路が正しく作動するかを検査して良かったらトラップ・ドア設置。水路から上がって沸き場の土台を敷くだけの簡単作業(12)。殆ど下を見ず、小指にも優しい沸き場作りです。後は、壁を三ブロック重ね(この高さで縁だ万沸きを防ぐーどうせ水で流す重力トラップじゃ逃げられるのが落ちなので)屋根を張ればトラップ・タワー完成です。
で、ですね?沸き場って松明着け巻くって土台作っていたんですが屋根張ると屋根にも沸くわけなんです。でもって、モブ明るいと沸かないんです。だから沸き場の中に置いた松明屋根張った後退けないといけないんです。
で、ですね?暗いとモブ沸くんです。部屋は真っ暗なのに、足元水路あるかもなのに、屋根暗いかもだし、モブ沸く確立高いかもなんです。で、そこでグロー・ストーンなのです(13)(14)。屋根張るとき所々設置するんです。すると部屋明るいんです。屋根も明るいんです。退路が簡単なんです。明かり退けも命掛けでなくてもいいんです。良い事だらけです。遠慮なく使いましょう。ハイ。
後は、屋根に上ってグロー・ストーン壊して、丸石を変わりに置いて、松明を立てて逝けば完成。モブ沸きます。地面に降りればですが。
と言うわけでモブ・タワー講座終わり・・・・・たいんですが死なないモブもいらっしゃるんですよ。ASでは。でもASですので対処方法もあったり。でも疲れたので又今度です。ハイ。
No comments:
Post a Comment