Hah. What? Not like anyone is waiting for the pnuepnuecraft thing, right? Right? *looks away*
Anywayz, Pnuematic craft. It's becoming rather popular nowdays, or maybe unpopular would be a better word for it? Because it's so Bah, humbug. But onward and upward we must go if we're to complete our Crash Landing quests and progress into a life of leisure via automation. Besides, a smoothie or two would be nice, no?
 |
| Hetare = more work |
In any case, after wasting some iron, and having some fun blowing things up, we now should have a stack or two, or three, but hopefully at least four stacks of compressed iron. Yes, I know it's a lot but I like to do the dangerous stuff while I still remember that it's dangerous so doing it all at once is a good thing. This way I won't have to risk coming back to this later if I should run short. And this lets me get it out of my system, the need to blow things up. Crazy, as it sounds, I rather like doing it sometimes. Worries me...sometimes.
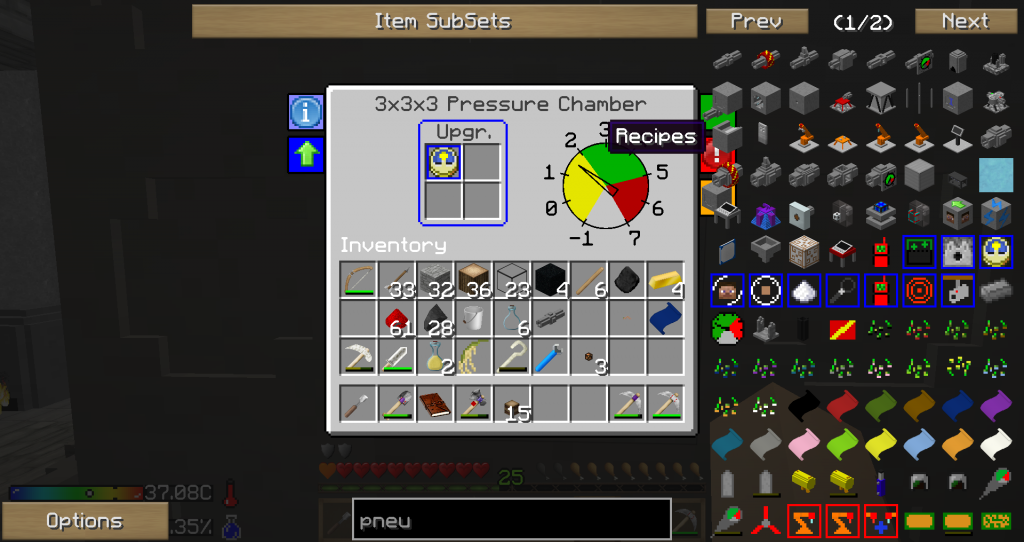
At any rate, the reason we need so much of this compressed iron is because we need to build a multi-block structure so we won't ever have to play with the tnt again - if all goes well. The pressure chamber - built in a 3 x 3 cube made of, you guessed it, compressed iron. It consists of mostly chamber walls which are made of 4 compressed iron. You can also throw in a chamber window so you can see when your items are done. And chamber valve so you can supply it with pressure via the air compressors. So to make a pressure chamber, you'll need at least 1 chamber valve, 25 chamber wall and at least 1 chamber window. The number of walls and windows can change - if you use more windows to look into the chamber as it is working you'll need less walls. I normally like having at least 3 windows to look in on the process. Cheap entertainment.
Anywayz, once you select your site, you lay down your chamber walls in a 3 x 3 grid. Think smelter layout. After this, we leave the middle section open and put in 4 walls in the corner of the 2nd layer. Put in the valve in any one of the open block spaces between the wall blocks. Then fill in the rest of the open spaces with either windows or walls - remember LEAVE THE MIDDLE SECTION OPEN. Now do another 3 x 3 grid on top with walls. This completes your pressure chamber - by the way, it really doesn't seem to matter which way to blocks face - unless it bothers your OCD. Though if you put the windows in the wrong way, you wont' be able to see what's going on inside so I guess you might want to watch out how you place the windows?
Now when you first start doing this, you might not have made the Chamber Interfaces yet. In this case, you'll have to break some blocks to access the items you put into the pressure chamber. If you did though find some or have some laying around, you can put them in one of the sides that face the chamber - in my case I put them on the top and bottom of the chamber. I also attach a chest and
 |
| Connect to the MIDDLE block - won't work any place else. |
Now, to power your chamber we need some air compressors. One is fine, though two might be faster. Three is overkill though if you feel the need I suppose you have the iron to waste so go for it. A block of coal/charcoal is normally enough to power up the chamber to the appropriate pressure for most items you'll want to make in the chamber. Get some pipes and run them over to the pressure valve so it can pump in the air to pressurize the chamber. You might want to attach a pressure gauge to one of the pipes at this time so you can keep an eye on how much pressure it running through your system. Because if you run it and it goes over the capacity of the system it will explode. And you'll lose a few pipes and parts, if you're lucky. I'm lucky it normally happens to me when I go away to do something else.
Of course, you could prevent this if you ran some redstone from the gauge to your compressors to turn them off when they receive a low redstone signal that matches the blowing point of the pipes. Or if you ran them to the safety valves even, so it would release pressure from the system when it reached a certain signal strength. But as we know my math skills and redstone skills are vastly lacking, we'll just keep letting them explode. Has nothing to do with the fact that I don't have the room to run enough redstone through to do it. Nope, nothing at all to do with the fact that I'd have to widen the room more to do this correctly. I just can't do the math right.
At any rate, with this, we finally have a somewhat functional pressure chamber so we don't have to constantly play with tnt. Because now all we do is build pressure in the pressure chamber, and throw the iron in before sealing it off until it converts into compressed iron. This also lets us create other items that we can't with just playing with tnt. Things that we need to modernize like the machine frame/block. And finally, it might also be a good idea to get a life upgrade so when you do leave the items in the chamber they won't decompose and disappear before you remember you left them there an hour ago.
 |
| Set it and forget it. |
日本語編後日改めてです。
No comments:
Post a Comment